

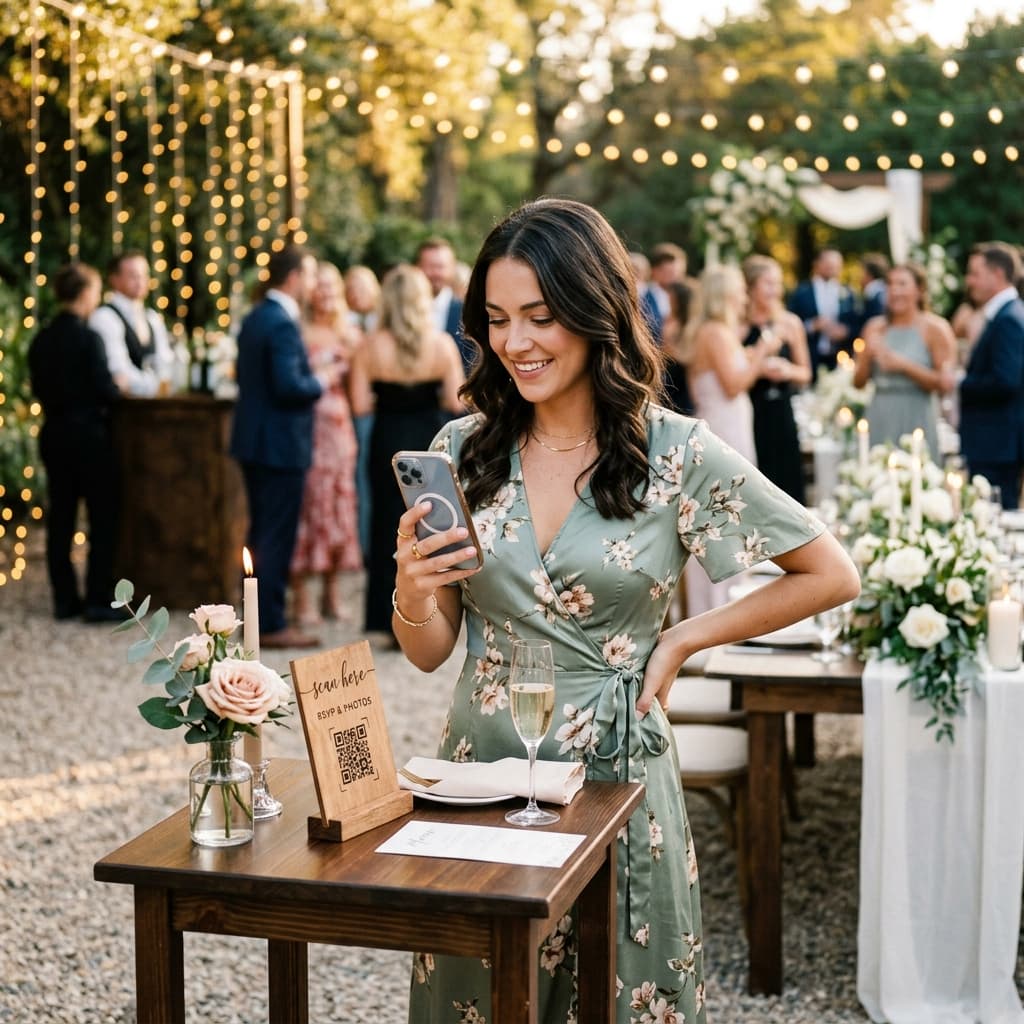
Wedding Photo QR Code: Printing, Placement and Guest Instructions
Make your wedding photo QR easy to scan: test the printed design, place it where guests can see it and add clear upload instructions.
1. What the wedding photo QR opens
Guests scan the QR code or open the link, select their files and upload from their browser without creating an account. The host signs in and connects their Google Drive account.
AlbumDrive uploads the photo file your guest selects without recompressing it. Download the saved file from your Drive when you need it.
2. Check your printed QR before the wedding
- Create the album first and test its upload link on a phone.
- Print a sample with contrast and space around the QR. Scan the actual print, not only the screen design.
- Check readability at the intended distance and in the venue lighting; avoid folds, reflections and decorations over the code.
- Add “Scan, choose your photos and upload” and offer the direct link if scanning is difficult.
3. Where to place your wedding photo QR
Location is everything. If the QR code isn't seen, it isn't used. Here are some creative and effective ideas:
- Centerpieces: Place a small, elegant card or an acrylic frame on each table. It's the place where guests spend the most time sitting with their phones at hand.
- The Bar: A high-traffic point! While they wait for their cocktail, it's the perfect time for them to upload ceremony photos.
- Thank You Cards: You can include them on small cards along with the menu or event program.
- Venue screen: Display the QR on a venue screen so guests can scan it. Live photo projection is a separate Premium feature.
4. Pro Tips for Event Day
Help guests scan and upload more easily with these checks:
- Test Connectivity: Make sure there is a good data signal at the venue or that the WiFi is easy to use.
- Lighting: Don't put the QR in a dark corner where the camera won't recognize it.
- Short Instructions: Although it seems obvious, add a small text: "Scan this code with your camera to share your photos." Older guests will thank you.
Conclusion
Try your shared album free with up to 30 photos over 3 days. Short videos require Plus or Premium and host activation.
The upload window is 3 days with Free and 30 days with Plus or Premium. When it ends, guests can no longer upload. Files already saved in your Google Drive are not deleted just because uploads close. Access to the AlbumDrive gallery also depends on the event remaining available, your settings and the Drive connection.