

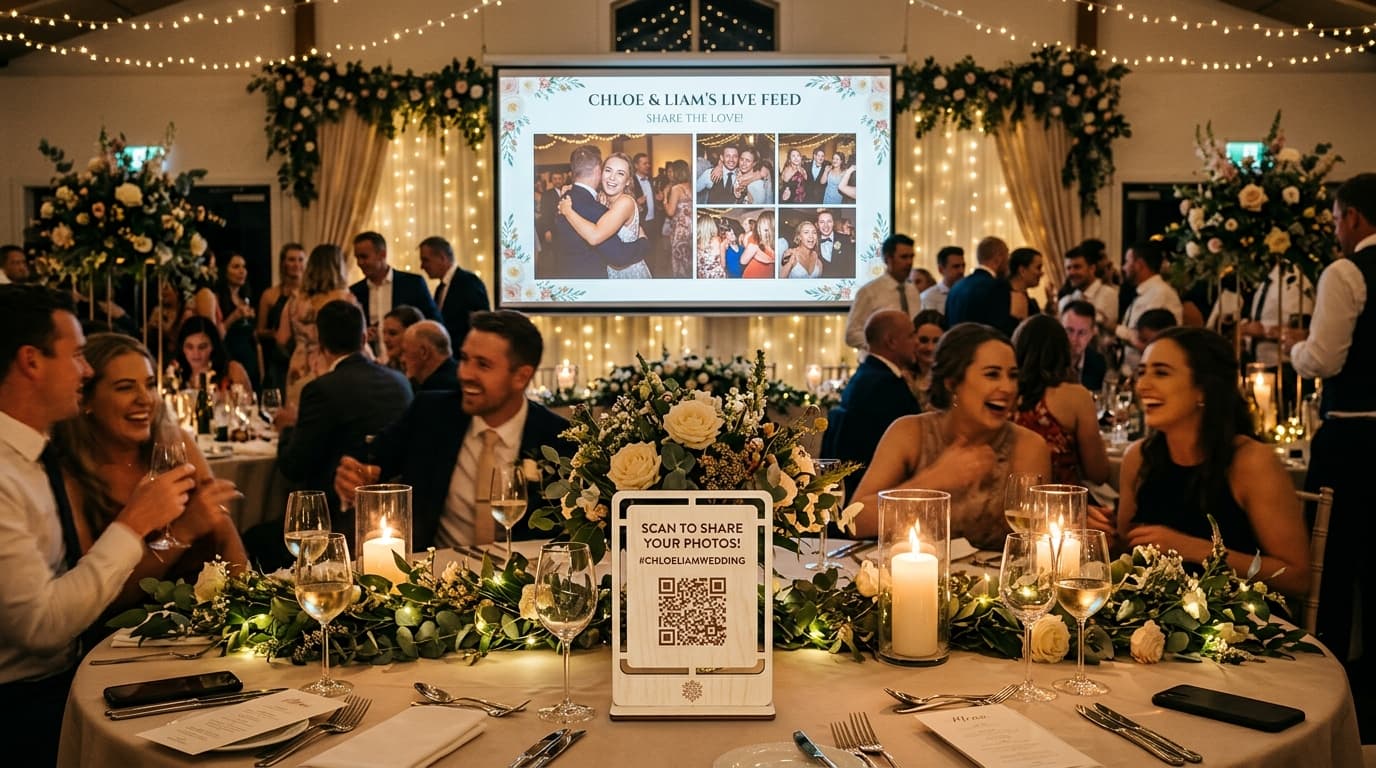
How to Project Live Photos at Your Wedding or Party with a QR Code
During a wedding, sweet sixteen, birthday bash, or special celebration, the most spontaneous moments happen off the official radar: a hilarious group selfie at table 4, high-energy dance floor reactions, or heartfelt reunions between longtime friends. While a hired photographer captures the ceremony milestones, your guests capture the authentic spirit of the celebration.
What if you could project all those candid guest photos onto a giant screen or venue projector in real time while the night unfolds?
A Live Slideshow transforms your party into a dynamic, interactive experience. Seeing a photo appear on the big screen just moments after taking it sparks laughter, gets other tables eager to snap memories, and brings the entire venue together.
Live photo projection requires Premium, a compatible browser connected to a screen or projector, and internet access. Test the actual venue setup before the event. Photos appear after guests upload them, not automatically when they take them.
Photo Booth or Live Slideshow: Different Uses
A photo booth and a guest-uploaded album serve different purposes and can be used together. Compare the booth’s local quote, staffing and prints with the screen, internet and moderation setup needed for a Premium slideshow.
How Real-Time Projection Works (Step-by-Step)
Before connecting the screen, confirm your event is on Premium and that your Drive connection is ready. The following steps cover QR placement, display setup and moderation.
1. Create Your Event and Connect Your Google Drive
Create your event on AlbumDrive, connect Google Drive and test a guest upload before printing the QR code. Choose Premium if you want to use live projection.
2. Print and Place the QR Codes
Download the ready-to-print QR code templates generated for your event. Place them in high-visibility areas:
- Table centerpieces: In elegant table frames or standing card holders.
- The bar: The highest foot-traffic zone throughout the evening.
- Near the dance floor: Perfect for capturing the peak energy of the party.
3. Connect the Venue Screen or Projector
From any device wired or paired with the venue's projector or TV display (a laptop via HDMI, a Smart TV browser, or a Chromecast):
- Sign in to AlbumDrive with your host account.
- Open your event's Live Slideshow view.
- Switch your browser to fullscreen mode (F11 on Windows, Command + Control + F on Mac).
The screen will display an elegant, smooth slideshow displaying approved guest photos. Whenever a guest takes a shot and uploads it, the slideshow automatically pulls the new photo into the loop without needing a page refresh.
4. Enable Live Moderation (For Total Peace of Mind)
Hosts often ask: “What if an accidental blurry picture or an inappropriate gag photo shows up on the projector?”
Enable prior approval in Premium if files must be reviewed before appearing in the gallery or projection. Plus offers moderation after upload. Share administrative access only with a trusted moderator; hiding or rejecting content is not the same as deleting the file from Drive.
4 Pro Tips to Maximize Guest Participation
To make your live slideshow the highlight of the night, keep these practical tips in mind:
- Have the DJ or MC make an announcement: A quick callout before dinner like: “Scan the QR code at your table to upload your photos tonight—the best shots will appear live on the big screen!” will instantly trigger a wave of uploads.
- Turn it into a mini-game: Challenge tables to submit the funniest group selfie, the most creative toast, or the best dance move.
- Emphasize the zero-friction experience: Make sure your signage mentions no app downloads or registrations are needed—just scan, pick, and upload.
- Seed the feed early: Pre-load a few photos from the ceremony or cocktail hour so the screen isn't empty when guests first arrive. Once people see the first photos rotating on screen, the excitement is contagious.
Frequently Asked Questions
What kind of internet connection is needed?
Upload speed depends on the file size and available connection. Test venue Wi-Fi and mobile coverage with actual guest files. AlbumDrive does not recompress uploaded photos to make the connection faster.
Can guests upload short videos as well?
Plus and Premium support videos up to 30 seconds and 100 MB when enabled by the host. Some files may be converted for browser compatibility, so video uploads are not guaranteed to be identical to the original file. Keep the source copy for editing.
Where do our photos go after the party ends?
Files saved in your Drive are not deleted when the AlbumDrive upload window ends. Keep sufficient storage, maintain your Google account and make an independent backup; this is not a lifetime availability guarantee.
Elevate Your Celebration Today
Don't let the best memories of your celebration get lost in group chats or forgotten on people's camera rolls. Turn your party into an engaging, interactive celebration everyone will talk about.
Create your album → Start with Free for up to 30 photos over 3 days; live projection requires Premium.